 MapUrbex
A practical guide to urbex photogrammetry, from shooting abandoned buildings to processing clean 3D reconstructions safely and responsibly.
Urbex Photogrammetry: How to Create 3D Models of Abandoned Buildings
Urbex photogrammetry turns overlapping photographs into measurable 3D models. For abandoned buildings, it is one of the most accessible ways to document spaces, preserve details, and build accurate visual archives.
The method is useful for researchers, photographers, historians, and careful explorers. It also demands discipline: consistent shooting, stable light, clean file management, and strict respect for safety and access rules.
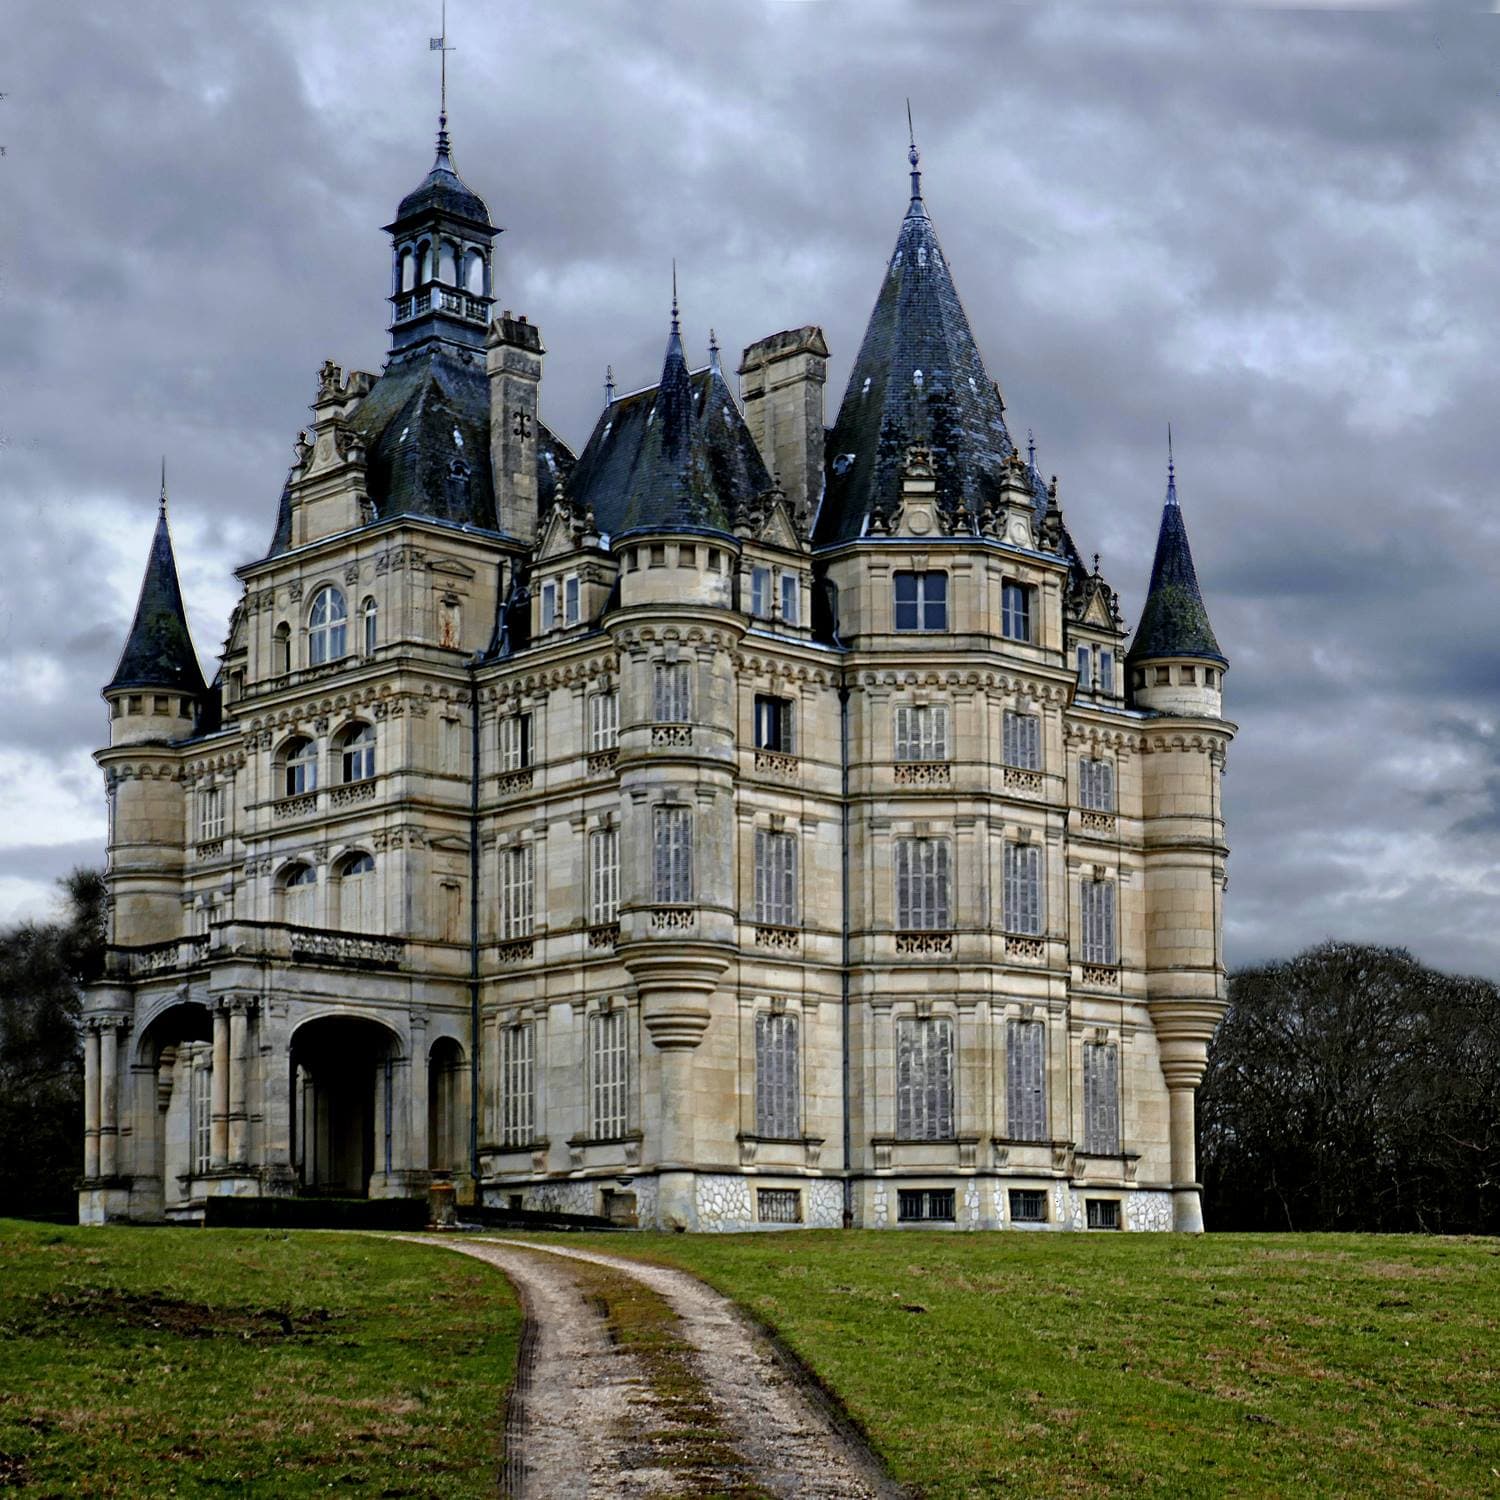
What is urbex photogrammetry?
Urbex photogrammetry is the practice of creating a 3D reconstruction of an abandoned place from a large set of overlapping photos. In practical terms, you photograph walls, rooms, facades, and details from many angles, then software aligns the images to generate points, meshes, and textured models. It is often cheaper and lighter than full 3D scanning.
Quick summary
- Urbex photogrammetry uses overlapping photos to build 3D models of abandoned buildings.
- Clean reconstruction depends more on method than on expensive gear.
- Diffuse light, high image overlap, and stable exposure usually improve results.
- Photogrammetry is often better than urbex 3D scanning when access is limited and portability matters.
- Responsible documentation means no forced entry, no vandalism, and no publication of sensitive location details.
- MapUrbex supports preservation-first exploration with curated and verified location research.
Quick facts
- Primary use: 3D documentation of abandoned architecture and interiors
- Best input: Sharp photographs with 70% to 85% overlap
- Common outputs: Dense point cloud, textured mesh, orthographic views, archival visuals
- Useful gear: Camera or phone, spare batteries, wide but not extreme lens, tripod if light is low
- Best conditions: Even light, limited motion, low reflective surfaces
- Safety note: Never enter restricted or unsafe places without permission and proper risk assessment
What equipment is useful for creating 3D models of abandoned buildings?
The best equipment for abandoned-building photogrammetry is simple and reliable: a camera or phone that shoots sharp stills, a lens with moderate width, spare power, and enough storage. Consistency matters more than prestige.
A practical kit usually includes:
- A mirrorless camera, DSLR, compact camera, or recent smartphone
- A 24 mm to 35 mm equivalent lens for rooms and facades
- Spare batteries and large memory cards
- A tripod only when light is too low for clean handheld shots
- A small light source for navigation, not for changing scene lighting between shots
- Gloves, dust protection, and sturdy footwear when access is legal and safe
A very wide lens can help in tight interiors, but distortion can reduce reconstruction quality. If you use one, correct distortion before processing or stay consistent across the whole set.
How should you photograph an abandoned building for clean 3D reconstruction?
You should photograph an abandoned building in continuous, overlapping passes. The goal is simple: every part of the scene should appear in several sharp photos from slightly different positions.
A reliable workflow looks like this:
- Walk the perimeter and identify stable paths, hazards, and lighting changes.
- Start with wide coverage of the full space or facade.
- Move in gradual arcs, not random jumps.
- Keep overlap high. Around 70% to 85% is a good working range.
- Lock exposure and white balance when possible.
- Avoid motion blur. If shutter speed drops too low, pause or use support.
- Add a second pass for corners, door frames, stair rails, and damaged textures.
- Capture linking images between rooms so the software can connect zones.
For photography of abandoned buildings, flat and cloudy light is usually better than harsh sun. Deep shadows, blown windows, moving leaves, and flickering artificial light all make alignment harder.
When does photogrammetry work better than urbex 3D scanning?
Photogrammetry works better than urbex 3D scanning when you need light gear, lower cost, and flexible shooting. In many abandoned sites, that makes it the more realistic option.
| Method | Best use | Main strengths | Main limits in abandoned sites |
|---|---|---|---|
| Photogrammetry | Buildings, rooms, facades, objects with visible texture | Low cost, portable, photo-based detail, easy field workflow | Needs texture, overlap, and good light control |
| 3D scanning | Precise geometry, complex interiors, measured capture | Strong geometric accuracy, fast spatial capture | Often heavier, more expensive, more sensitive to logistics |
Urbex 3D scanning can outperform photography when exact geometry matters more than surface texture, or when the building has repetitive patterns that confuse photo alignment. Photogrammetry, however, remains the best entry point for many independent documentation projects.
How do you process the photos into a usable 3D model?
You process the photos by cleaning the set, aligning images, generating geometry, then exporting the result for review or publication. Good organization at the start saves hours later.
Use this order:
- Remove blurred, duplicated, or badly exposed images
- Group photos by exterior, room, staircase, or object
- Run image alignment
- Check for broken areas or floating geometry
- Build a dense point cloud
- Generate the mesh
- Bake or calculate the texture
- Export a lighter version for sharing and a full version for archiving
Name folders clearly. Keep the original files. If you revisit the site legally, use the same shooting logic to update the model and compare building change over time.
What errors ruin a model most often?
The most common failures come from inconsistent shooting. Software can compensate for a lot, but it cannot reconstruct what the camera never recorded clearly.
Typical problems include:
- Large gaps in coverage
- Low overlap between passes
- Mixed focal lengths without planning
- Motion blur or excessive noise
- Reflective glass, standing water, mirrors, or glossy tiles
- Blank walls with little visible texture
- Bright windows that clip detail
- Random order between rooms with no connecting photos
If a room fails, the fix is usually simple: reshoot with more overlap, better exposure control, and clearer transitions between viewpoints.
How can you work responsibly and legally on urbex photogrammetry?
Responsible urbex photogrammetry means documentation without harm. You should only photograph from places where you have legal access, avoid unstable structures, and never force entry for a model.
A useful 3D reconstruction is never worth injury, trespassing, or damage to a fragile site.
Good practice includes:
- Check ownership, local rules, and access conditions
- Prefer permission, official access, or public viewpoints
- Do not move objects just to clean a frame
- Do not reveal exact coordinates for sensitive locations
- Work with a partner when risk assessment requires it
- Leave no trace and preserve the site as found
MapUrbex follows a preservation-first approach with curated research and verified location logic. If you are planning future trips, you can Browse all urbex maps or start with the free option below.
Which outputs are most useful after the 3D reconstruction?
The most useful outputs depend on your goal, but a lightweight textured model plus a preserved high-resolution archive is usually the best combination.
Common deliverables are:
- A textured mesh for viewing and sharing
- Screenshots for reports or articles
- Orthographic facade or wall views
- Close-up texture references for decay, graffiti, or materials
- Before-and-after comparisons across multiple visits
- Documentation sets for heritage or research notes
If you also research places by region, these guides may help: Urbex Strasbourg: 10 Abandoned Places to Know in Strasbourg and Nearby, Urbex Toulouse: Best Abandoned Places In and Around Toulouse, and Urbex Brussels: guide to abandoned places in and around Brussels.
FAQ
Can I create a useful model with only a phone?
Yes. A recent phone can produce a solid model if the light is stable, the photos are sharp, and the overlap is high. Phones are often enough for small rooms, facades, and objects.
How many photos do I need for one abandoned building?
There is no fixed number. A small room may need 60 to 150 photos, while a full building can require several hundred or several thousand. Coverage quality matters more than raw volume.
Is low light always a deal breaker?
No, but low light increases blur and noise risk. If you cannot keep images sharp, reconstruction quality will drop. In many cases, it is better to return at a brighter time than to force a weak dataset.
Should I publish the exact location with the model?
Usually not. Publishing precise location data can increase damage, theft, and unsafe visits. For sensitive places, share the documentation without exposing the site.
What is the difference between 3D reconstruction and 3D scanning?
3D reconstruction from photogrammetry uses photographs to infer geometry and texture. 3D scanning uses dedicated hardware to capture spatial measurements directly. Both can be useful, but their cost, field workflow, and output quality differ.
Conclusion
Urbex photogrammetry is a practical way to create 3D models of abandoned buildings when you work carefully and responsibly. Strong overlap, stable light, clear coverage, and legal access matter far more than exotic gear.
For most projects, the best result is not the biggest model. It is the cleanest, safest, and most repeatable documentation set. That approach protects both your archive and the place itself.
Access the free urbex map
