 MapUrbex
A practical guide to low-light urbex photography: camera settings, tripod use, lens choice, noise control, and safe, responsible shooting.
Low-Light Urbex Photography: How to Get Sharp, Clean Images in Abandoned Places
Low-light urbex photography is one of the hardest parts of photographing abandoned places. Interiors are often dim, contrast is uneven, and many scenes include dust, broken windows, narrow corridors, and unstable floors.
Good results usually come from technique, not luck. The right settings, a stable shooting method, and a realistic understanding of the location matter more than expensive gear.
MapUrbex recommends a preservation-first approach: use verified locations, respect access rules, and never force entry for a shot.
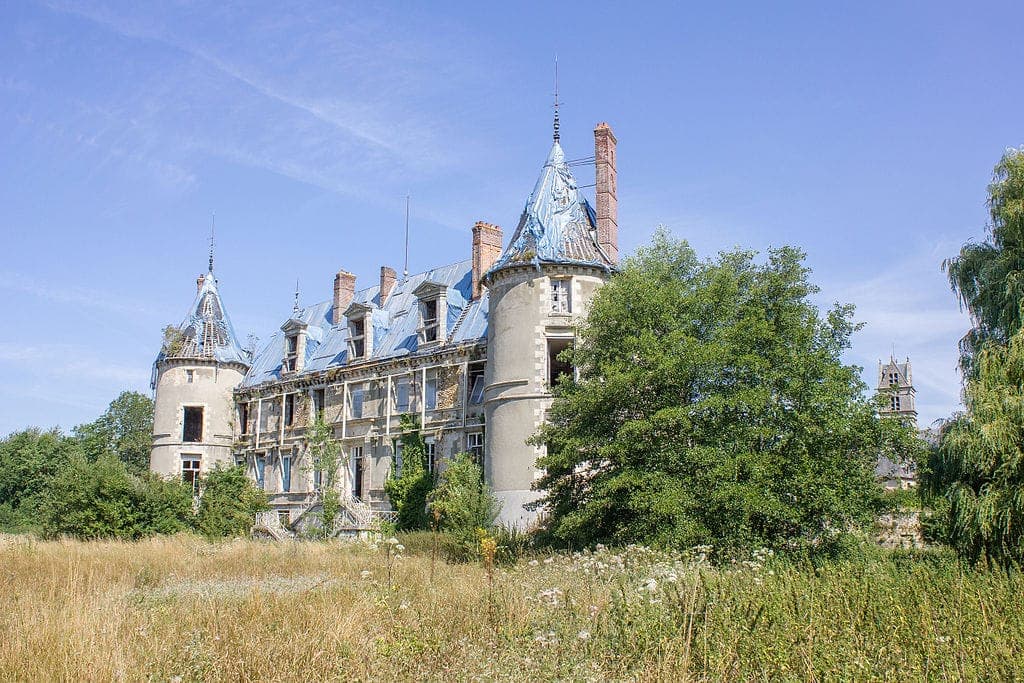
How do you succeed at low-light urbex photography?
You succeed at low-light urbex photography by stabilizing the camera, exposing for the highlights, shooting in RAW, and keeping ISO only as high as necessary. A tripod helps most, but careful handheld technique can also work. In abandoned places, sharp results come from slow, deliberate shooting and safe positioning, not from rushing deeper into dark areas.
Quick summary
- Use the lowest ISO that still gives you a workable shutter speed.
- A tripod is the simplest way to improve sharpness in dark interiors.
- Wide lenses with apertures around f/2.8 to f/4 are usually the most practical.
- Shoot RAW if you want better recovery in shadows and highlights.
- Expose carefully to preserve bright windows, then lift darker areas in editing.
- Never trade safety or legality for a photo; responsible access matters more than any image.
Quick facts
- Best file format: RAW
- Most useful lens range: 16-35 mm or 24 mm equivalent
- Typical handheld minimum: around 1/60 s, sometimes 1/30 s with good technique
- Typical tripod aperture: f/5.6 to f/8 for room detail
- Flash use: often avoidable, often undesirable
- Best support habit: timer, remote, or 2-second delay to reduce shake
Which camera settings work best for urbex in low light?
The best low-light urbex settings depend on whether you are handheld or on a tripod. The core rule is simple: protect detail, avoid unnecessary blur, and raise ISO only when you must.
If you are using a tripod, you can keep ISO low and let shutter speed get longer. If you are handheld, shutter speed becomes the priority. In both cases, meter for bright windows or light patches first, because clipped highlights are harder to recover than dark shadows.
| Situation | Shutter speed | Aperture | ISO | Support |
|---|---|---|---|---|
| Bright abandoned room, handheld | 1/125 s | f/2.8-f/4 | 400-800 | Strap tension or wall support |
| Dim corridor, handheld | 1/60 s | f/2.8 | 800-3200 | Stable stance |
| Interior detail, tripod | 1-5 s | f/5.6-f/8 | 100-400 | Tripod + timer |
| Window-lit hall, tripod | 0.5-2 s | f/5.6 | 100-200 | Tripod + exposure check |
| Fast documentary shot | 1/125 s | f/2.8 | 1600-6400 | Handheld |
A practical starting point for photo urbex in low light is aperture priority with exposure compensation, or full manual mode if the light is stable. White balance can stay on auto if you shoot RAW, but mixed light often looks cleaner when corrected later.
Do you need a tripod for urbex photography?
No, but a tripod is the most reliable tool for clean low-light urbex images. It lets you keep ISO low, choose a sharper aperture, and frame carefully.
A tripod is especially useful for stairwells, large rooms, long corridors, and scenes with strong geometry. It is less useful when the ground is unsafe, when you must move fast, or when the site is too cramped to set it up safely.
If you do carry one, choose a compact tripod rather than a heavy studio model. In abandoned buildings, portability matters. A small tripod that you actually use is more valuable than a large one left in the car.
If you cannot use a tripod, try these alternatives:
- Brace the camera against a wall, door frame, or pillar
- Use image stabilization if your lens or body has it
- Exhale slowly before pressing the shutter
- Shoot short bursts to improve the chance of one sharp frame
- Increase ISO modestly rather than accepting motion blur
Which camera and lens setup is most useful for low-light urbex photography?
The most useful setup is usually a camera with decent high-ISO performance and a wide or moderately wide lens. You do not need the most expensive body, but you do need predictable autofocus, good dynamic range, and RAW files that tolerate shadow recovery.
For many photographers, the most practical options are:
- Full-frame or APS-C mirrorless camera
- Wide zoom such as 16-35 mm, 17-28 mm, or equivalent
- Fast prime such as 24 mm, 28 mm, or 35 mm at f/1.8 to f/2.8
- Lightweight tripod
- Spare battery, because long exposures and cold interiors drain power
A dedicated urbex camera should also be easy to carry through tight spaces. Lightweight gear reduces fatigue and improves decision-making. That matters more than marginal image quality gains.
How can you avoid blur and digital noise in abandoned places?
You avoid blur by stabilizing the camera and setting a realistic shutter speed. You avoid noise by keeping ISO as low as the scene allows and exposing accurately.
Blur usually comes from one of three problems: camera shake, subject movement, or an overly slow shutter speed for the focal length. Noise usually comes from underexposure pushed too far in editing.
The most effective methods are:
- Use the reciprocal rule as a baseline for handheld shots
- Slightly overexpose within reason to reduce shadow noise
- Check sharpness by zooming in on the preview screen
- Use manual focus when autofocus hunts in darkness
- Turn on a 2-second timer when using a tripod
- Avoid extreme ISO unless the scene would otherwise be unusable
In practice, a clean ISO 1600 file is often better than a blurred ISO 400 file. Technical perfection matters less than a sharp, readable image.
How should you compose abandoned interiors when the light is weak?
In weak light, composition should simplify the scene. Strong lines, one clear subject, and controlled contrast usually produce the best urbex photographs.
Look for windows, doorways, stair rails, peeling textures, and repeated shapes. Use those elements to guide the eye. Dark scenes become confusing fast, so remove distractions at the edges of the frame.
A few composition rules work especially well in abandoned places:
- Place the brightest area where you want the viewer to look first
- Use symmetry carefully in halls, churches, and industrial rooms
- Include foreground detail only if it adds scale or depth
- Keep vertical lines straight when architecture is the subject
- Do not brighten every shadow; some darkness gives the image structure
Low-light urbex photography often improves when you slow down. One carefully framed image usually says more than ten rushed ones.
What editing workflow works best for low-light urbex photos?
The best workflow is a restrained one: correct exposure, recover highlights, lift shadows selectively, control noise, and keep the atmosphere believable.
A typical edit might follow this order:
- Correct lens distortion and perspective
- Set white balance for the dominant light
- Recover highlights around windows
- Raise shadows moderately, not aggressively
- Add local contrast to textures
- Apply noise reduction only as much as needed
- Sharpen after resizing or near the end of the workflow
Over-editing is common in urbex photography. Heavy HDR, excessive clarity, and fake color casts can make a real place look less credible. If the image is meant to document a location, natural rendering is usually stronger.
What safety and legal rules matter for low-light urbex photography?
The main rules are simple: do not trespass, do not force access, and do not put yourself at risk for a photo. Darkness hides broken floors, exposed nails, unsafe staircases, and unstable ceilings.
Responsible urbex means preserving the place and respecting the law. Bring a headlamp, proper footwear, and a charged phone. Tell someone your plan. Avoid solo visits in isolated sites. If access is prohibited or the structure is dangerous, do not enter.
MapUrbex is built around verified locations and responsible exploration, not reckless access. The best image is never worth an injury, a damaged site, or illegal entry.
Where can you find verified places to practice responsibly?
The best places to practice are verified locations where you can plan light, timing, and safe movement in advance. Curated maps save time and reduce the temptation to rely on fake lists or risky improvisation.
You can Browse all urbex maps if you want a broader overview, or read Why Most Urbex Lists Are Fake, and How to Find Real Places to understand how location quality affects both safety and photography.
If you want examples of documented regions, see Top 10 Abandoned Places in Île-de-France for Responsible Urbex and Abandoned Bunkers and Military Sites to Explore in France.
FAQ
What ISO is best for low-light urbex photography?
The best ISO is the lowest value that still gives you a sharp image. On a tripod, ISO 100 to 400 is often ideal. Handheld, ISO 800 to 3200 is common, depending on the light and your camera.
Can you shoot urbex photos in low light without a tripod?
Yes, you can. Use a fast lens, stabilize your posture, and keep shutter speed high enough for your focal length. You may need to accept more ISO in exchange for less blur.
Should you use flash in abandoned places?
Usually only when it serves a clear purpose. Direct flash can flatten textures and kill atmosphere. It can also draw attention in places where discretion and safety matter. Many urbex scenes look better with ambient light and careful exposure.
Is RAW better than JPEG for urbex photography?
Yes. RAW files keep more information for highlight recovery, shadow lifting, and white balance correction. In low light, that extra flexibility is often the difference between a usable image and a disappointing one.
What is the best focal length for abandoned interiors?
A wide lens is usually the most versatile. Around 16-35 mm on full frame, or its equivalent on APS-C, works well for rooms, corridors, and structural details without making every image feel overly distorted.
Conclusion
Low-light urbex photography is mostly about control. Stable support, realistic settings, simple composition, and careful editing will improve your results faster than buying random gear.
Just as important, responsible planning makes better images. Verified places, safe movement, and preservation-first habits give you more time to shoot well and fewer reasons to rush.
Access the free urbex map
