 MapUrbex
Learn how to plan an urbex itinerary with several spots, a smarter route order, safety checks, backup options, and map-based planning.
How to Plan an Urbex Itinerary with Multiple Spots
Planning an urbex itinerary is not just about pinning abandoned places on a map. A good route reduces wasted driving, lowers on-site risk, and helps you verify access conditions before you leave.
The best multi-stop urbex days are usually simple, realistic, and flexible. MapUrbex works best when you use verified locations, cluster nearby spots, and keep preservation-first decisions at every step.
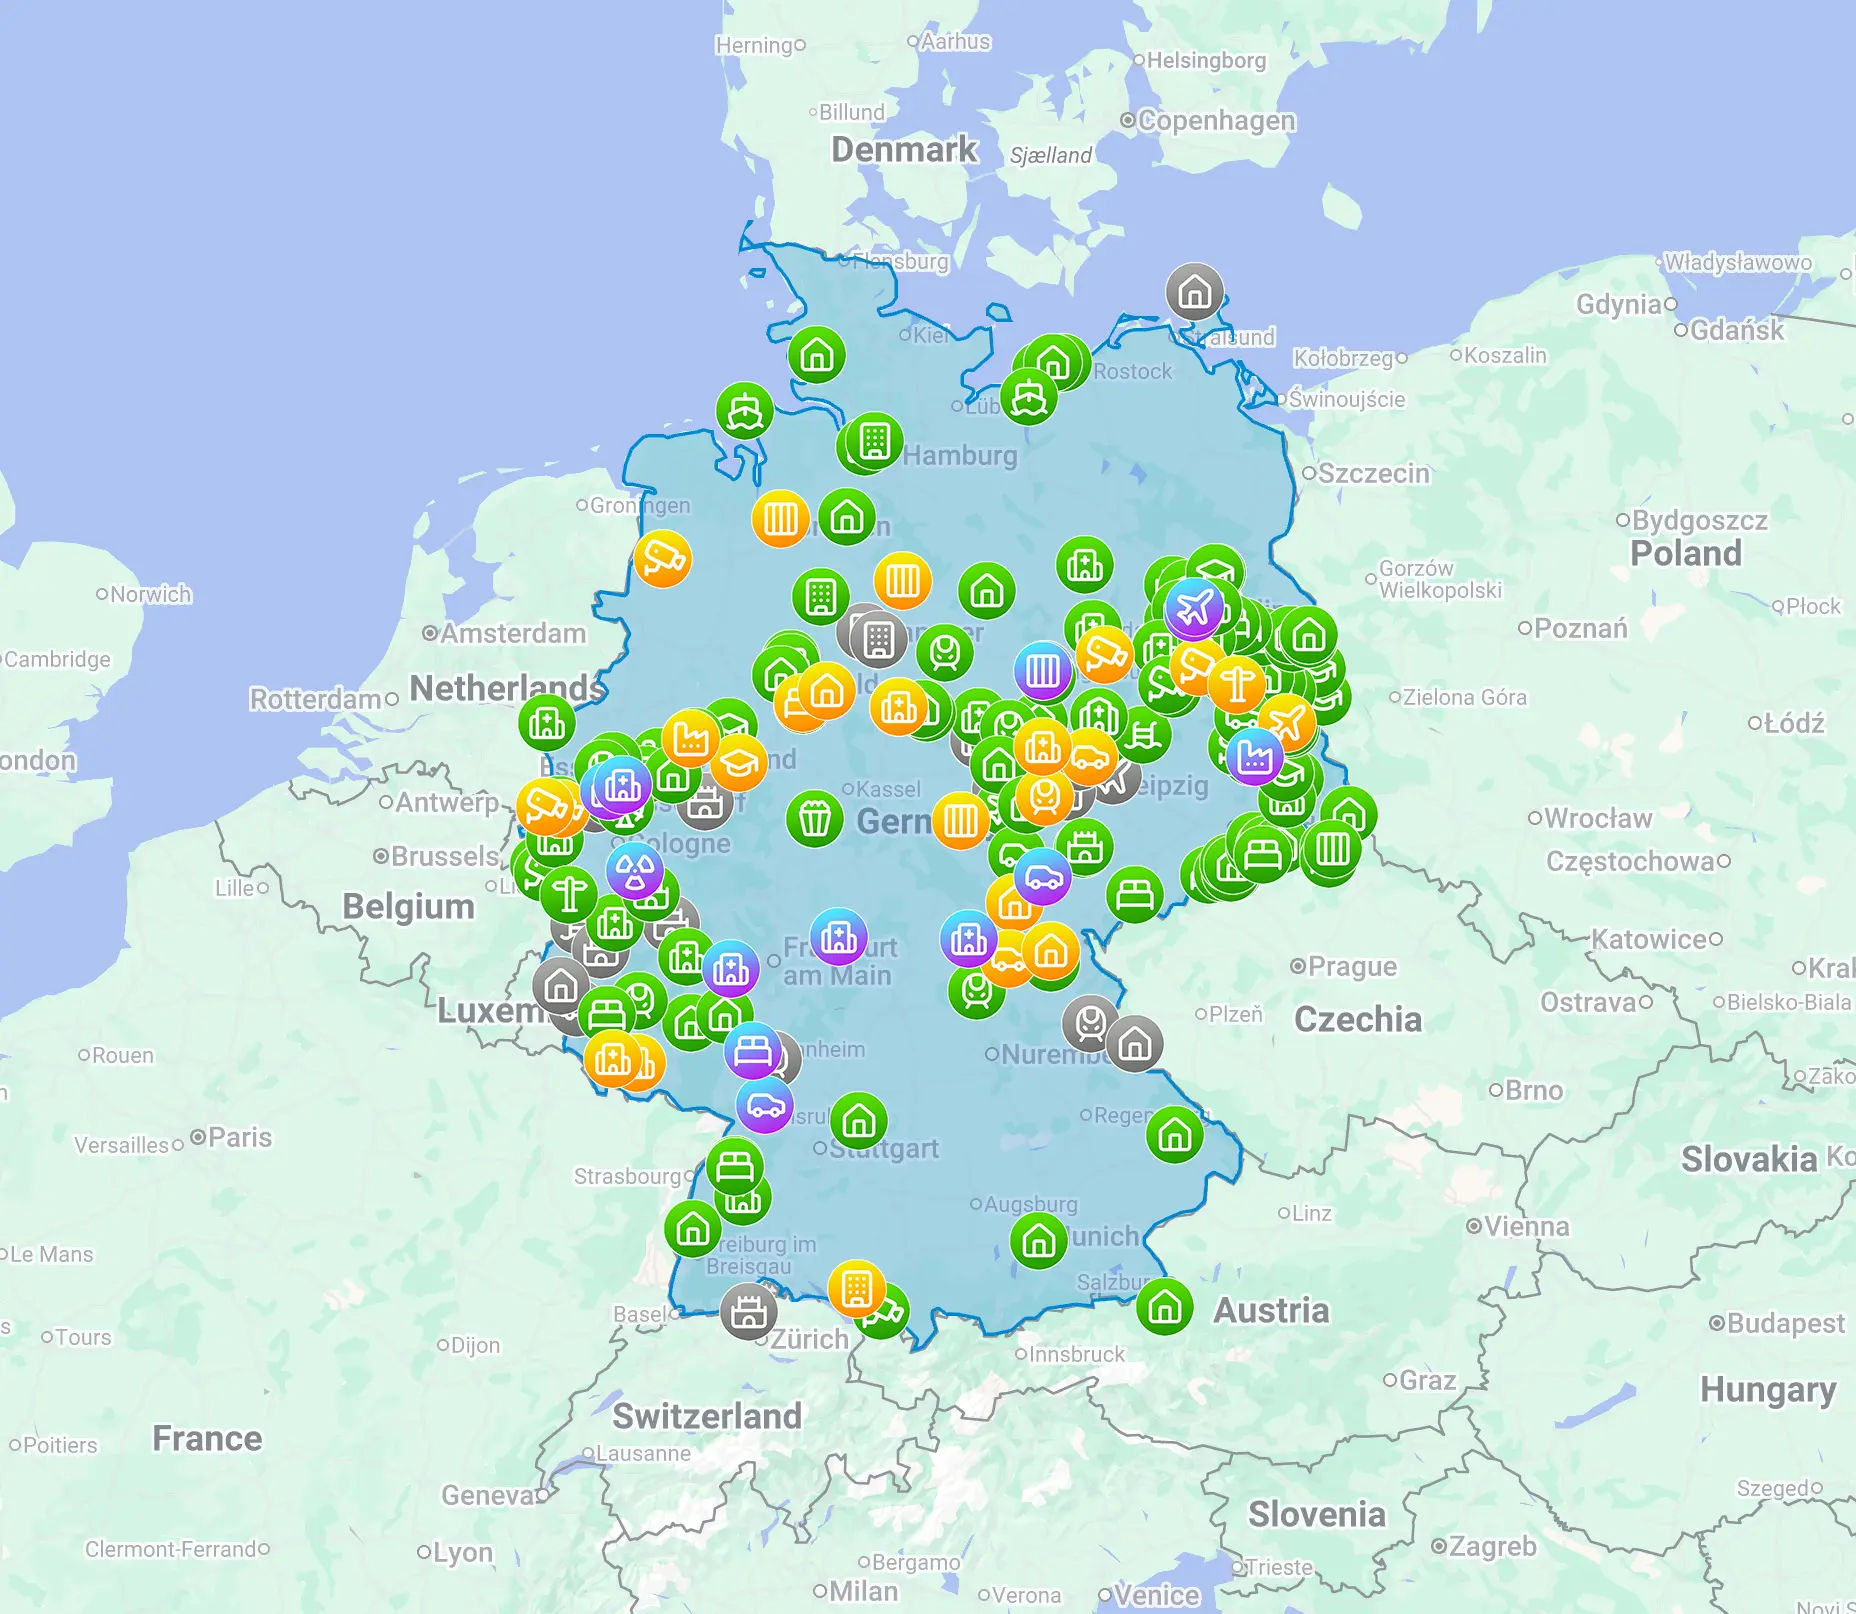
How do you plan an urbex itinerary with multiple spots?
Plan an urbex itinerary by selecting nearby verified spots, checking current access status, ranking them by priority and daylight needs, then building a route with backup options. The goal is not to visit the highest number of places. The goal is to create a realistic urbex route that stays legal, safe, and adaptable if one stop is inaccessible.
Quick summary
- Group several urbex spots by travel time, not by straight-line distance.
- Put your highest-value location first, when energy and daylight are best.
- Confirm access status, parking, surroundings, and local restrictions before departure.
- Keep one or two backup spots in the same area in case a site is sealed or active.
- Use a curated urbex map to reduce guesswork and avoid outdated coordinates.
Quick facts
| Item | Best practice |
|---|---|
| Ideal number of spots in one day | 2 to 4 serious stops |
| Recommended spacing | 10 to 35 minutes between locations |
| Priority order | High-value spot first, uncertain spot later |
| Backup planning | At least 1 replacement spot per zone |
| Essential checks | Access status, hazards, legal context, weather, parking |
| Main planning tool | A verified urbex map |
Which spots should go in the same urbex route?
The best spots for the same urbex route are places that share the same travel corridor, urban area, or fallback zone. Mixing one city factory, one rural manor, and one distant tunnel often looks efficient on paper but produces a fragile day plan.
A practical rule is to build one zone at a time. Choose a primary area, add one flagship location, then add nearby secondary sites with similar travel conditions. This makes urbex planning simpler and limits long detours.
Map quality matters here. If you start from Browse all urbex maps, you can compare areas instead of chasing isolated pins. If you want a lighter starting point, Access the free urbex map helps you test route ideas before building a larger circuit.
How many locations should you include in one day?
For most explorers, 2 to 4 locations is the right range for a one-day urbex itinerary. More than that often creates rushed visits, poor judgment, and extra exposure to changing conditions.
The real limit is not distance alone. It is time lost in parking, walking approaches, perimeter checks, and deciding not to enter when a site is clearly active or sealed. A route with three strong spots is usually better than a list of seven uncertain ones.
If one location is large, such as a hospital complex or castle estate, treat it as half a day by itself. If the sites are smaller, such as depots or houses, you can combine more, but only if the travel time stays short.
What is the best order for several urbex spots?
The best order is usually: priority site first, time-sensitive site second, flexible site third, and backup site last. This order protects the main objective of the day.
Start with the place you would regret missing. That is often the most photogenic or the most uncertain location. If it is unexpectedly inaccessible, you still have time to pivot.
Then place sites that depend on daylight, neighborhood activity, or opening patterns nearby. Finish with the easiest or least essential stop. This turns your urbex route into a decision tree instead of a fixed list.
A simple ranking system helps:
- A: highest priority, best light, longest visit
- B: nearby secondary stop
- C: optional short visit
- D: backup only
How should you use an urbex map for planning?
Use an urbex map to compare clusters, not just individual points. The best planning workflow is to zoom out first, identify dense zones, and only then open each listing to check context.
Look for five planning signals:
- travel time between spots
- recent status information
- type of location
- likely visit duration
- exit options if the plan changes
This is where curated maps are more useful than random lists. A maintained tool helps you organize an urbex itinerary with less outdated information and less duplication.
For inspiration, route design also changes by category. A circuit focused on estates will not behave like an industrial circuit. See Urbex Castles and Abandoned Manors: 12 Places Worth Visiting Responsibly or Urbex Canada: Top 10 Abandoned Places to Explore in Montreal, Quebec, and Beyond to understand how regions and site types affect route design.
What legal and safety checks should you make before leaving?
You should verify legality, current use, visible security measures, and obvious environmental risks before leaving home and again on arrival. An urbex map helps with planning, but it never replaces local judgment on site.
Never force entry, bypass active security, or enter places that are occupied, dangerous, or clearly restricted. Responsible urbex starts with refusal when conditions are wrong.
Check these items before departure:
- ownership or access warnings if publicly visible
- demolition or redevelopment signals
- weather and daylight
- shoes, lighting, first aid, charged phone
- parking that does not block gates or residents
Some locations disappear quickly. Sealed sites, reuse projects, and demolitions can invalidate a perfect route. That is why current information matters. See Abandoned Places That Disappeared in 2025: Demolished, Reused, or Sealed for a reminder that no itinerary stays accurate forever.
How do you build a flexible backup plan?
Build a backup plan by creating two layers: a primary circuit and a same-area fallback circuit. The fallback should not send you an hour away. It should sit in the same zone or on the way home.
A reliable structure is:
- Plan A: 2 priority spots
- Plan B: 1 nearby alternative
- Plan C: 1 short final stop or early finish
This approach reduces risky decision-making. When a site is sealed, active, or crowded, you already know where to go next. Good planning is calm planning.
What does a practical multi-stop urbex itinerary look like?
A practical itinerary is short, clustered, and time-boxed. Here is a simple template you can adapt:
| Time block | Goal |
|---|---|
| 08:30-09:00 | Drive and approach first site |
| 09:00-11:00 | Main priority location |
| 11:00-11:30 | Move to second site |
| 11:30-13:00 | Secondary location |
| 13:00-14:00 | Break, notes, route check |
| 14:00-15:30 | Optional third stop |
| 15:30 onward | Backup site or return |
The important point is not the exact hour. It is keeping slack in the day. Empty time protects you from traffic, closures, and site changes.
FAQ
What is the main mistake when organizing an urbex itinerary?
The main mistake is trying to fit too many sites into one day. Overloaded plans cause rushed decisions and make explorers ignore warning signs that should end the visit.
Should you share a multi-stop urbex route publicly?
You should share carefully and selectively. Public overexposure can accelerate vandalism, sealing, and demolition pressure. Preservation-first sharing is usually better than posting every exact route.
Is a free urbex map enough for route planning?
A free urbex map is enough to start comparing areas and building a rough circuit. For more efficient planning, verified details and curated updates become more valuable as the route gets longer or more specific.
How far apart should several urbex spots be?
A useful range is often 10 to 35 minutes apart. Longer gaps can still work, but they tend to reduce flexibility and increase the risk that one failed stop ruins the rest of the day.
What should you do if the first site is inaccessible?
Leave it alone and switch to your backup plan. Do not force access, wait around suspiciously, or improvise unsafe alternatives. A good itinerary assumes that one site may fail.
Conclusion
A strong urbex itinerary is built on verification, clustering, and restraint. If you plan a route with several spots in the same area, set a clear priority order, and keep legal and safety checks in place, you get a better day with less rushing and fewer bad decisions.
MapUrbex is most useful when you treat the map as a planning tool, not a promise. Conditions change. Responsible explorers adapt, protect sites, and accept when a stop should be skipped.
Access the free urbex map
