 MapUrbex
Learn the best urbex photography settings for ISO, aperture, and shutter speed, with practical starting points for dark interiors and abandoned sites.
Urbex Photography Settings: ISO, Aperture, and Shutter Speed
Urbex photography usually means low light, mixed contrast, dust, narrow rooms, and unstable footing. Good results depend less on exotic gear than on choosing the right exposure settings quickly.
The three controls that matter most are ISO, aperture, and shutter speed. If you understand how they interact, you can keep detail, limit blur, and avoid unnecessary noise in abandoned interiors.
This guide gives practical starting points for responsible urbex photography. It is written for legal access, permission-based visits, and preservation-first exploration.
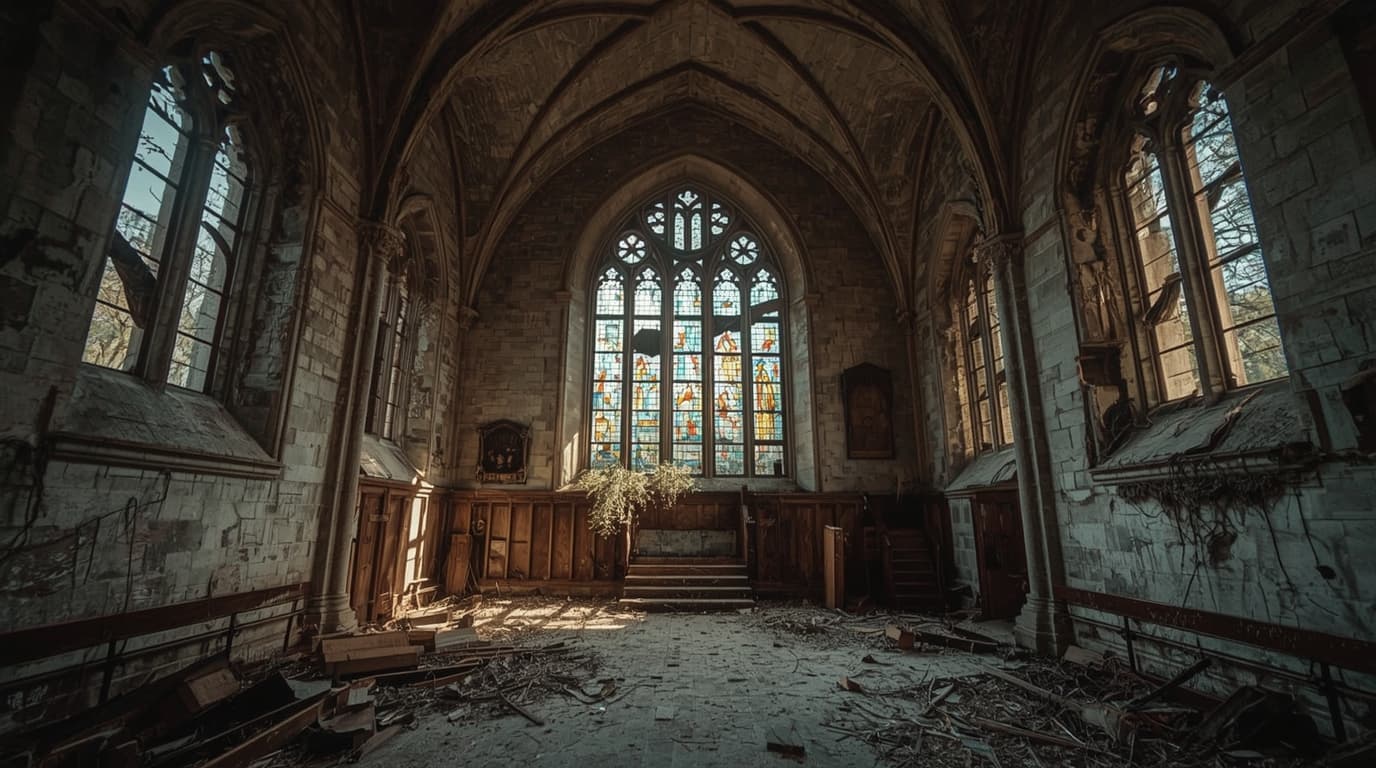
What camera settings work best for urbex photography?
For most urbex scenes, start at ISO 400 to 800, use an aperture between f/5.6 and f/8, and set shutter speed according to your stability and the available light. Lower ISO is best when the camera is supported. Higher ISO is often necessary when shooting handheld inside dark buildings.
Quick summary
- Start with ISO 400 to 800 for most interiors, then raise it only if shutter speed becomes too slow.
- Use f/5.6 to f/8 when you want room detail and reliable sharpness across the frame.
- Keep handheld shutter speed around 1/60s or faster unless your lens stabilization is excellent.
- Use ISO 100 to 200 only when you have a tripod or a stable support.
- Protect window highlights first, then lift shadows later if you shoot in RAW.
- Prioritize safety, legal access, and preservation over getting one more shot.
Quick facts
| Situation | ISO | Aperture | Shutter speed | Practical note |
|---|---|---|---|---|
| Bright abandoned exterior | 100-200 | f/5.6-f/8 | 1/250s+ | Best for crisp textures and low noise |
| Window-lit interior | 400-800 | f/5.6-f/8 | 1/60s-1/125s | Good starting range for handheld shooting |
| Very dark corridor | 800-1600 | f/4-f/5.6 | 1/30s-1/60s | Raise ISO before accepting blur |
| Tripod shot indoors | 100-400 | f/7.1-f/11 | 1/2s to several seconds | Best for clean files and maximum detail |
| Detail shot of objects | 400-800 | f/2.8-f/4 | 1/80s+ | Useful for isolating a subject |
Which ISO should you use in abandoned buildings?
Use the lowest ISO that still gives you a safe shutter speed. In practice, that usually means ISO 400 to 800 for handheld urbex photos and ISO 100 to 200 when the camera is stable.
ISO controls sensor sensitivity. A low ISO produces cleaner files with less noise, but it also demands more light or a slower shutter. In dark factories, tunnels, schools, or churches, staying at ISO 100 often forces a shutter speed that is too slow for handheld work.
A simple rule is this:
- ISO 100 to 200: best for tripod shots, bright exteriors, or strong window light
- ISO 400 to 800: best default range for most abandoned interiors
- ISO 1600 to 3200: useful when handheld, but only when blur would be worse than noise
Modern cameras handle moderate ISO much better than heavy motion blur. In urbex, a slightly noisy sharp image is usually more usable than a perfectly clean blurred image.
What aperture works best for urbex interiors?
For most urbex interiors, f/5.6 to f/8 is the most reliable aperture range. It gives enough depth of field for rooms, corridors, machinery, and architectural detail without pushing shutter speed too low.
Use narrower apertures such as f/11 only when you have solid support and specifically need front-to-back sharpness. Many lenses are sharpest around f/5.6 to f/8, which makes that range a practical default.
Use wider apertures such as f/2.8 or f/4 when:
- the room is extremely dark
- you are shooting details rather than a whole room
- you want subject separation
- you need a faster shutter speed without raising ISO too far
Wide apertures are helpful, but they reduce depth of field. In tight interiors with foreground debris and background structure, that trade-off matters.
How should you choose shutter speed in low light?
Choose shutter speed based on movement, focal length, and how stable you are. For handheld urbex photography, 1/60s is a practical minimum for many wide shots, while 1/100s to 1/125s is safer if you are tired, crouched, or shooting uneven floors.
Shutter speed determines how motion appears. That includes subject motion and camera shake. In abandoned spaces, camera shake is often the bigger problem.
Useful starting points:
- 1/250s or faster: moving subjects or windy exterior details
- 1/100s to 1/125s: safe handheld range for many interiors
- 1/60s: possible with a wide lens and steady posture
- 1/30s or slower: only if stabilization is strong or the camera is braced
- 1 second and longer: tripod or firm support required
If your shutter speed drops too low, increase ISO before opening the aperture too far, unless shallow depth of field matches your composition.
How do ISO, aperture, and shutter speed work together?
ISO, aperture, and shutter speed form the exposure triangle. Changing one setting forces a compensation somewhere else if you want the same brightness.
Here is the practical urbex version:
- If you lower ISO, you need a slower shutter or a wider aperture.
- If you close the aperture from f/4 to f/8, you need more ISO or more time.
- If you speed up shutter time to avoid blur, you need more ISO or a wider aperture.
The best order is usually:
- Set the aperture for the kind of scene you want.
- Set the minimum shutter speed that will stay sharp.
- Raise ISO only as much as needed.
When windows or broken roofs create bright highlights, expose for the bright parts first. RAW files usually recover shadows better than blown highlights.
Which starting settings work well in common urbex scenes?
A few tested starting points make field work faster. They are not fixed rules, but they reduce hesitation when light changes room by room.
For a church or hall with window light:
- ISO 400 to 800
- f/5.6 to f/8
- 1/60s to 1/125s
For a dark corridor:
- ISO 800 to 1600
- f/4 to f/5.6
- 1/30s to 1/60s
For detail shots of objects, books, masks, tools, or peeling textures:
- ISO 400 to 800
- f/2.8 to f/4
- 1/80s or faster
For tripod compositions with no movement:
- ISO 100 to 200
- f/7.1 to f/11
- let shutter speed fall as needed
These starting points work best when you shoot RAW and check your histogram rather than trusting the rear screen alone.
Should you use a tripod or stabilize another way?
Yes, a tripod is often the best option for clean urbex photos, but only when the location is legally accessible and physically safe. If a tripod slows movement, blocks exits, or forces you onto unstable surfaces, use a safer support method.
Good alternatives include:
- bracing the camera against a wall or column
- placing it on a stable railing or ledge
- using a 2-second timer or remote trigger
- relying on in-body or lens stabilization
A tripod helps most when you want low ISO, careful framing, and high detail. It matters less when the floor vibrates, the room is cramped, or you must keep moving.
How can you keep your urbex photos sharp and stay safe?
Sharp images come from stable technique, not only better settings. Safety also affects image quality because rushed movement creates blur and bad decisions.
Use this checklist:
- shoot in RAW for highlight and shadow recovery
- focus on a clear edge with enough contrast
- take two or three frames when light is marginal
- keep elbows close and control your breathing
- check corners for motion blur before leaving the room
- avoid forcing access, climbing unstable structures, or stepping on weak floors
Safety reminder: responsible urbex means legal access, no trespassing, no forced entry, and no damage. MapUrbex promotes verified locations and preservation-first exploration.
If you want locations that are curated instead of random, misleading lists, start with Browse all urbex maps and read Why Most Urbex Lists Are Fake, and How to Find Real Places.
FAQ
Can you shoot urbex with a phone?
Yes, if light is decent and you stay realistic about limits. Phones work well for bright exteriors and simple interiors, but dedicated cameras give better control over ISO, aperture, and shutter speed in dark spaces.
Is Auto ISO useful for urbex?
Yes, Auto ISO is useful when light changes quickly between rooms. Set a minimum shutter speed and a maximum ISO limit so the camera does not choose settings that are too slow or too noisy.
Should you always shoot at f/8?
No. f/8 is a strong default for rooms and architecture, but not a rule. Use wider apertures for dark scenes or detail shots, and smaller apertures only when depth of field matters more than shutter speed.
What is the best shutter speed for handheld urbex photos?
For many wide interior shots, 1/60s is a workable minimum. 1/100s to 1/125s is safer if you are using a longer lens, standing awkwardly, or shooting after a long walk.
Do you need a full-frame camera for urbex photography?
No. Full-frame helps with high ISO and dynamic range, but APS-C and Micro Four Thirds cameras can produce excellent urbex images when settings, support, and composition are handled well.
Conclusion
The best urbex photography settings are rarely extreme. A balanced approach works better: moderate ISO, mid-range aperture, and a shutter speed that respects the light and your stability.
If you remember one rule, remember this: protect sharpness first, then optimize noise. And always put legality, safety, and preservation before the shot.
Access the free urbex map
