 MapUrbex
A practical urbex gear checklist covering essential equipment, safety items, clothing, navigation, and what to leave at home before responsible urban exploration.
Urbex Gear: The Complete Checklist Before Any Exploration
Urban exploration rewards preparation, not improvisation. The right urbex gear helps you spot hazards earlier, move more comfortably, and leave a place exactly as you found it.
A solid checklist is also a safety filter. If a site requires equipment you do not have, the responsible choice is to skip it and come back better prepared.
This guide explains the essential urban exploration equipment, the optional extras, and the packing choices that matter most for preservation-first explorers.
What urbex gear do you actually need before an exploration?
For most legal, low-risk explorations, the essential urbex gear is simple: a reliable flashlight, a backup light, sturdy boots, gloves, weather-appropriate clothing, water, a charged phone, ID, and a compact first-aid kit. Add navigation tools, a power bank, and basic dust protection only when the location and conditions clearly justify them.
The goal is not to carry the biggest bag. The goal is to carry the right gear for the site, the weather, and your experience level.
Quick summary
- Build your urbex checklist around safety, legality, and site conditions.
- Lighting, footwear, gloves, water, phone power, and first aid are the core items.
- Bring only equipment you understand and can use quickly.
- Avoid oversized bags and loose gear that slow movement.
- Leave forced-entry tools at home; responsible urbex never depends on them.
- Good location research matters as much as good equipment.
Quick facts
- Best backpack size for most day explorations: 15 to 25 liters.
- Minimum lighting rule: one main light and one backup light.
- Footwear priority: grip, ankle support, and durable soles.
- Phone priority: full battery, offline navigation, and emergency contact access.
- Safety rule: if air quality, structure, or legal access is unclear, do not enter.
- Preservation rule: take photos, not objects.
Safety reminder: never force entry, bypass barriers, or ignore active hazards. Urban exploration should stay legal, low-impact, and easy to abort at any time.
Which safety items belong in every urbex checklist?
Every urbex checklist should start with items that protect visibility, footing, and decision-making. In practice, that means light, grip, hydration, communication, and basic medical backup.
Your non-negotiable safety kit should usually include:
- A primary flashlight
- A backup flashlight or headlamp
- Spare batteries or a charged rechargeable unit
- Sturdy boots with good traction
- Work gloves with enough dexterity for climbing ladders or opening normal doors
- Water
- Fully charged phone
- Power bank
- Compact first-aid kit
- ID and any required permissions for legal access
A whistle can also help in large structures where voice carries poorly. It weighs almost nothing and can be more useful than expected.
How should you choose clothing and footwear for urbex?
Choose clothing that protects you from scrapes, dust, weather, and unstable footing without restricting movement. Good urbex clothing is practical, quiet, and easy to layer.
A simple system works best:
- Base layer that manages sweat
- Long sleeves and durable trousers for abrasion protection
- Light waterproof shell when weather can change
- Boots with ankle support and reliable grip
- Spare socks for long sessions or wet conditions
Avoid clothing that snags easily, absorbs too much water, or makes fast movement harder. Heavy fashion boots, loose scarves, and oversized coats often create more problems than they solve.
Footwear matters more than almost anything else in urban exploration. Slippery stairs, broken floors, wet concrete, and loose debris punish weak soles quickly.
What camera and navigation equipment is worth carrying?
The best camera and navigation setup is the one you can use under stress, in low light, and without slowing the group. For many explorers, that means a phone plus one dedicated light, not a full production kit.
Useful options include:
- Smartphone with offline maps
- Compact camera or mirrorless camera
- Wrist strap or secure neck strap
- Spare memory card
- Power bank and cable
- Small tripod only if the location allows safe, stationary shooting
Navigation should stay simple. Download maps in advance, save parking or exit points, and note areas with poor signal.
If you are still building your basic kit, prioritize light and footwear before camera upgrades. Great images do not help much if you cannot move safely.
Which extra items are useful but not always necessary?
Some urban exploration equipment is situational. These items can be smart additions, but only when they match the location and the actual risk.
| Item | Why carry it | When it makes sense |
|---|---|---|
| Headlamp | Keeps both hands free | Stairwells, ladders, dark corridors |
| Knee pads | Reduces strain and abrasion | Low-angle photography, crawling spaces |
| Dust mask such as FFP2 or N95 | Reduces nuisance dust exposure | Dry, dusty, non-contaminated environments |
| Compact tripod | Helps with low-light shots | Stable floors, calm shooting conditions |
| Extra water | Extends safe time on site | Heat, remote parking, long walks |
| Lightweight rain shell | Prevents weather-related discomfort | Open roofs, changing weather |
A critical note: a dust mask does not make a contaminated site safe. If you suspect asbestos, chemical residue, or serious air-quality problems, the right decision is to leave.
What should you leave at home?
You should leave behind anything that increases legal risk, encourages bad decisions, or makes movement harder. Good urbex gear reduces friction. Bad gear adds it.
Avoid bringing:
- Crowbars, bolt cutters, lock tools, or anything meant for forced access
- Oversized backpacks packed for appearance rather than use
- Fragile valuables you cannot afford to lose
- Open drinks that can leak onto electronics
- Speakers or anything that adds noise
- Unnecessary duplicates that add weight
Responsible urbex is not about getting through barriers. It is about planning routes that stay within safe and lawful boundaries.
How should you pack your urbex backpack?
Pack your bag so that the most urgent items are easiest to reach. In an uncertain environment, fast access matters more than perfect organization.
A practical packing order looks like this:
- Keep your main light, backup light, and phone at the top or in external pockets.
- Place water in a stable side pocket.
- Store first aid and power bank in clearly separated pouches.
- Keep camera gear padded but accessible.
- Put rarely used extras at the bottom.
Try to keep the bag compact and close to your back. A swinging load affects balance on stairs, ladders, and uneven floors.
Before leaving home, do a two-minute test:
- Can you reach your light immediately?
- Can you identify your first-aid kit without emptying the bag?
- Can you walk, crouch, and climb stairs comfortably?
- Can you leave quickly without loose gear falling out?
If the answer is no to any of these, repack.
Why does location quality matter as much as equipment?
The best urbex gear cannot fix a poor location choice. Verified information about access status, structural condition, recent closures, and realistic entry context prevents avoidable problems before you even lace your boots.
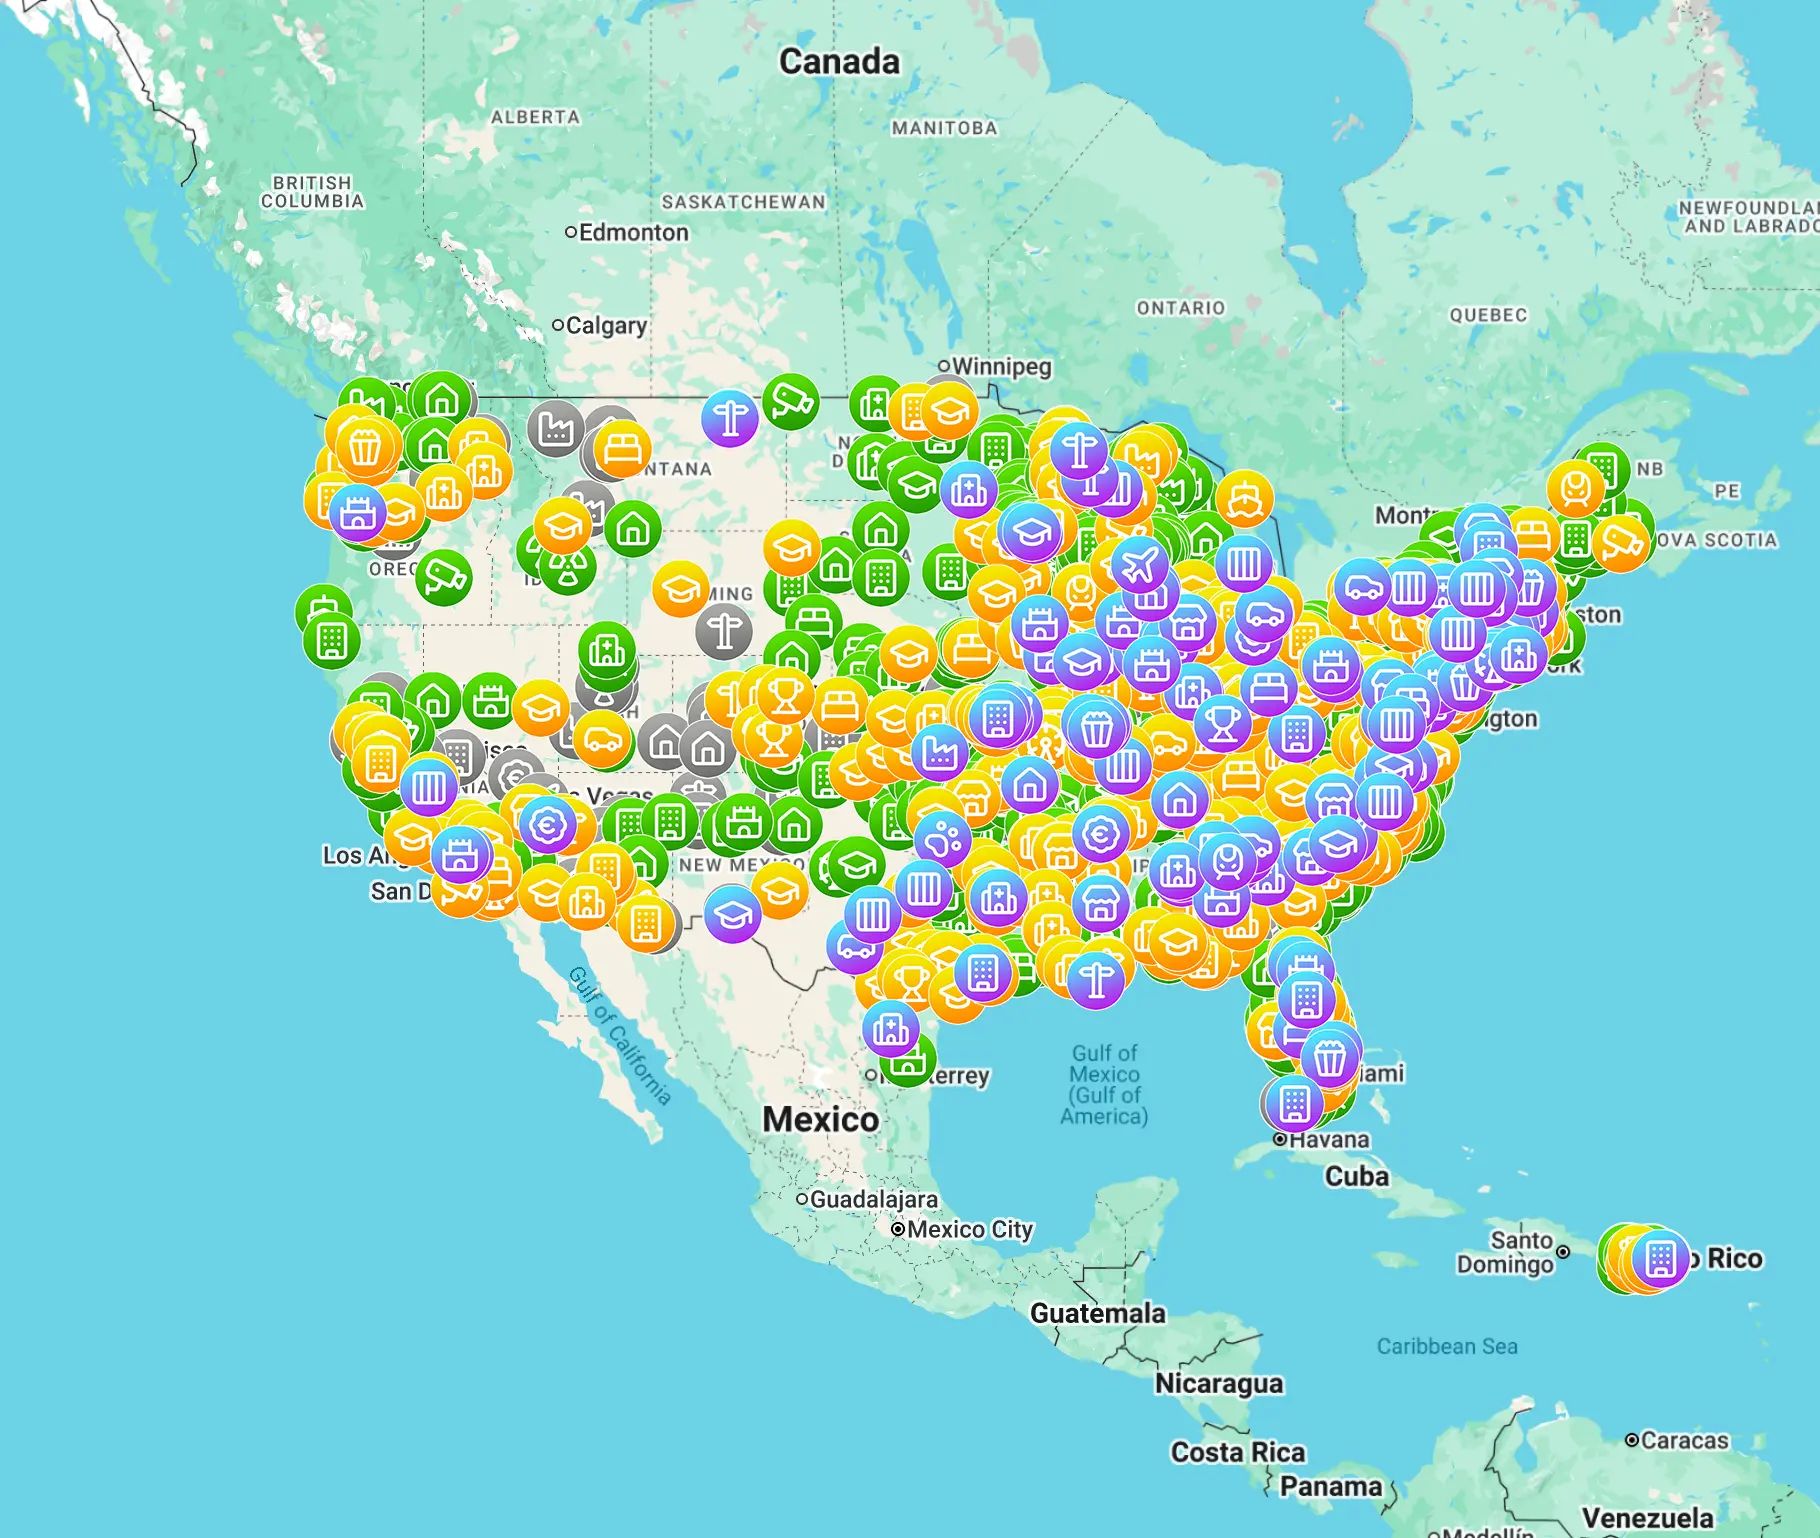
MapUrbex focuses on curated maps, responsible urbex, and preservation-first research. You can Browse all urbex maps to compare regions, or Access the free urbex map if you want to start with a lighter planning workflow.
If you want related guidance, read Is Urbex Legal? A Clear Guide to Urban Exploration Laws, Solo Urbex or Group Urbex: Pros and Cons for Safer Exploration, and Top 5 Most Dangerous Urbex Places and Why You Should Avoid Them.
Frequently asked questions
Do you need a respirator for urbex?
Not always. For many low-risk, well-ventilated locations, you do not. But visible dust, mold, or uncertain air quality are warning signs, not invitations to rely on a mask. If contamination is plausible, the safe choice is to leave.
Is a hard hat necessary for urban exploration?
A hard hat is situational, not universal. It can make sense around low ceilings, construction remnants, or overhead debris risk, but it is not required for every exploration. Match it to the site.
Can you explore with only a phone flashlight?
You should not rely on only a phone flashlight. Phones drain quickly, perform poorly in deep darkness, and may be needed for navigation or emergency contact. Carry a dedicated main light and a backup.
What is the best backpack size for urbex?
For most explorers, 15 to 25 liters is enough. It holds the essentials without becoming bulky. Larger bags are usually justified only by longer walks, winter layers, or camera-heavy setups.
Should beginners buy expensive urbex gear?
No. Beginners benefit more from reliable basics than premium upgrades. Start with good boots, dependable lighting, gloves, water, and a small first-aid kit. Add specialized equipment only after you know your real needs.
Conclusion
The best urbex equipment is not the longest shopping list. It is a balanced kit that helps you see clearly, move safely, stay hydrated, and leave immediately if conditions change.
Responsible explorers match their gear to the site, respect the law, and treat preservation as part of the checklist. When access, structure, or air quality is uncertain, the smartest piece of equipment is restraint.
Ready to plan smarter explorations with verified location research?
Access the free urbex map
